One of the first steps in using TriNet Expense should be setting up your company. This step should be taken by any company administrator or owner who wants to access to the following features:
- Add / delete user(s)
- Edit user(s) report approvers
- Import Users from Gmail, Google Account, NetSuite, Outlook or TriNet Expense .CSV format.
- Assigning licenses to user(s)(Premium Feature)
- Manage reimbursement payments for user(s)
- Create and share expense categories for user(s) associated with the company (if permission set in user account)
- Change mileage reimbursement rates and PDF template of report(s) (if permission set in user account)
- Create and manage Expense Policies for all user(s) associated with the company (Premium Feature)
- Access all company expense reports submitted, including status, approval history, receipts and more (Premium Feature)
Users not planning to control the above permissions for their company, should not set up this step.
Users who have set up their own company in error, can change the ownership of the company to the intended person, by selecting the Change Owner button and selecting a new company owner.
Steps for setting up a company:
1. Setup
Go to Settings > Company Settings and click Setup to get started.
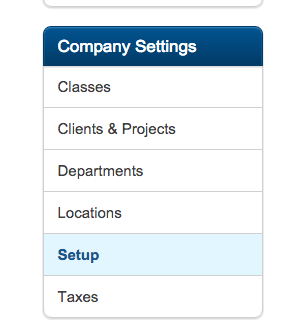
During the initial setup, company owners will be asked to enter in the company name, company ID, work phone, industry, base currency, desired PDF template, mileage reimbursement rate (defaulted to US IRS current year rate), user permissions, country, phone, industry field, and company logo. If you are unsure of any of these settings, they can be easily changed at any time after the initial setup by going to the Settings > Company Settings page.
Note: PDF templates will only display our free template in the drop-down for Free users. Paid subscribers will find all six templates available. Please see here to view the different PDF templates.
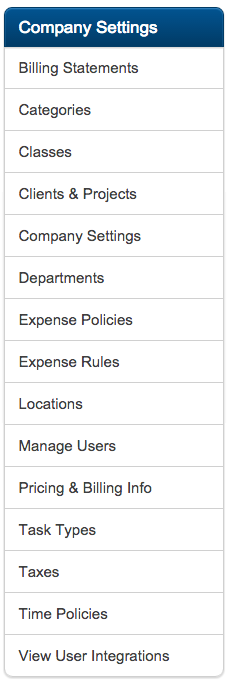
Select the Next Button to save your changes and set up the company. Once this is done you will notice new sub-tabs available to the company admin:
Settings > Company Settings > Manage Users (to manage users)
Settings > Company Settings > Policies (to manage company policies)
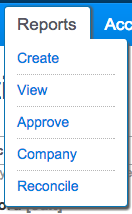
Reports > Company Settings > Company (to view all reports submitted throughout the company and be able to take action on them)
Users are now warned if another user with the same domain has set up a company in TriNet Expense already. This will prevent from multiple companies from being formed and having to merge at a later date. Users can request an invitation from the current owner of the company and switch ownership if needed.
2. Adding Users
Users can be added to TriNet Expense in two ways; through manually entering in each user or through our bulk import process.
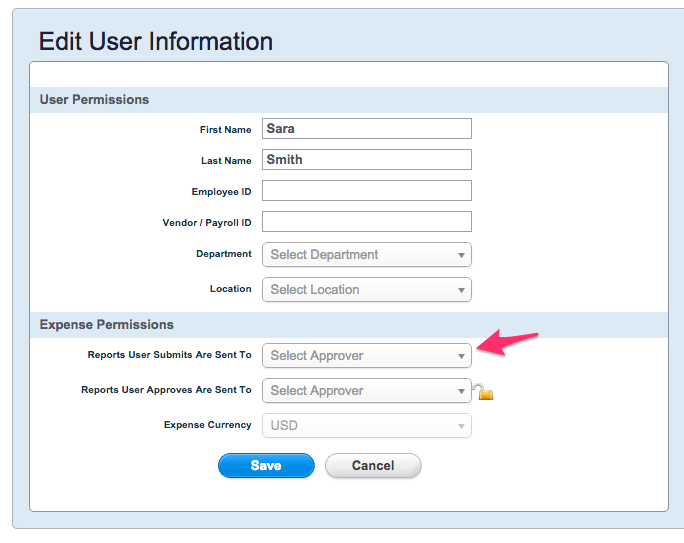
Adding Users Manually - Select the Add New User button and enter in the Email address, First and Last name of each user. Your email address will appear as their approver. As you enter in users, you can change the approver in the drop-down. Approvers can be changed at any time in the future on the Settings > Company Settings > Manage User page.
Adding Users Through Bulk Import - TriNet Expense supports the following ways to import users:
- Microsoft Outlook CSV File
- Google or Gmail Accounts (Including Corporate Accounts) - Just enter your Google username and password to have all your contacts imported automatically
- Netsuite CSV File
- TriNet Expense's CSV File
Select the "what's this?" link next to each import to download an example of the file format.
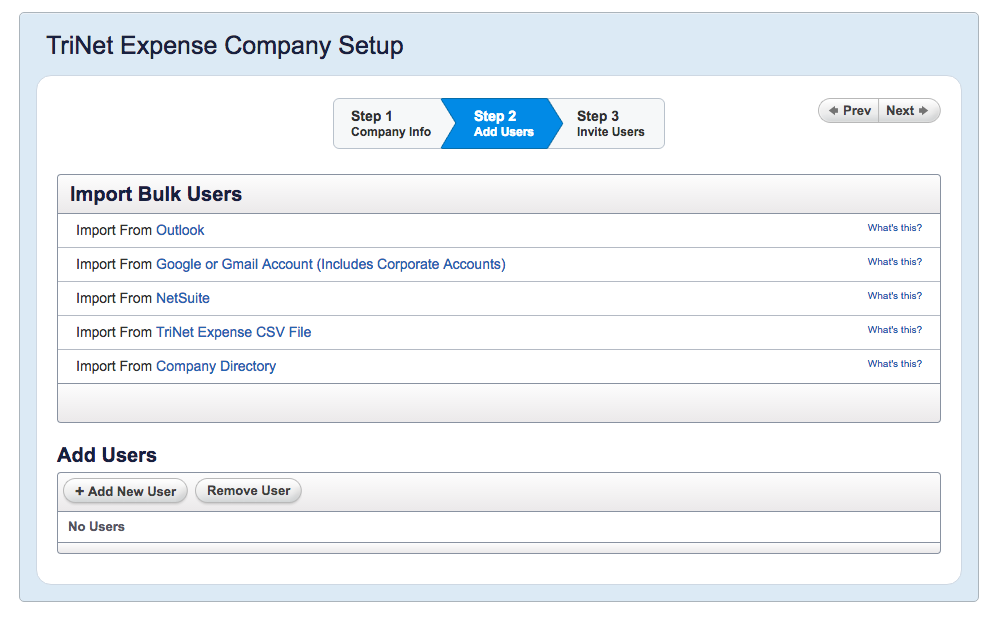
Select the link (eg. Netsuite) to bring up a window in order to import your users. Once imported, they will appear below in the user section. Feel free to add, edit or remove any users in this step prior to sending out an invitation.
Once users are added, select the Next button to take you to Step 3.
3. Inviting Users
Once you have added a user(s), TriNet Expense will send them an invitation to log into their newly created TriNet Expense account. Feel free to add any additional comments to the users in the text section. If you choose to send the invitation later, TriNet Expense will still create the user account, but not send them any invitation yet. You can send the invitation at a later date from the Settings > Company Settings > Mange Users page. The company owner will be notified by email once a user accepts an invitation to join the company.
