This article will walk you through the various ways to attach receipts to your expenses.
Upload Receipt - Individual Expense:
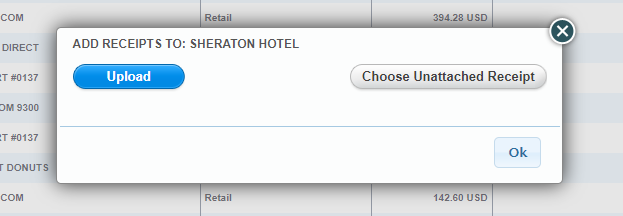
When viewing your expenses, Click the Add button in the receipt column to either add a new receipt (Upload) from your computer or to browse receipts that you have already uploaded into Expense. (Choose Unattached Receipt).


Once added, an envelope icon will appear, indicating the image is attached. You can easily verify this receipt image by hovering your cursor over the icon. Click the envelope icon to see the full size image or if the receipt is multiple pages.
When viewing the unattached receipt folder under the Receipts tab, you will see receipts that you have already uploaded on the left side of the screen and your unsubmitted expenses on the right. You can Click +Add New Receipt to upload receipt files directly from your computer. Select all of your files and drag and drop them into the box. To attach the receipts, drag the image over to the matching expense on the right side of the screen.

Import Receipt Via Email:
There are two options for sending receipts via email:
- Send a receipt to receipts@trinetexpense.com. For this option to work ,the email MUST be sent from the email that matches your Expense profile (seen at top of screen). This is how our system knows where to send the receipt.
- Create a custom receipt email by clicking on Settings. The screenshot below shows you were to create this email. The system will automatically add ".receipts@trinetexpense.com" to whatever username you create. This option allows you to send receipts from any email address. An example would be if you are checking out of a Hotel from a kiosk and the system asks where to email your receipt.

Note: You will find the receipt images within Receipts. Note that these receipts are not attached to any expenses. To attach, drag the receipt image to the desired expense.
TriNet Expense Mobile App:
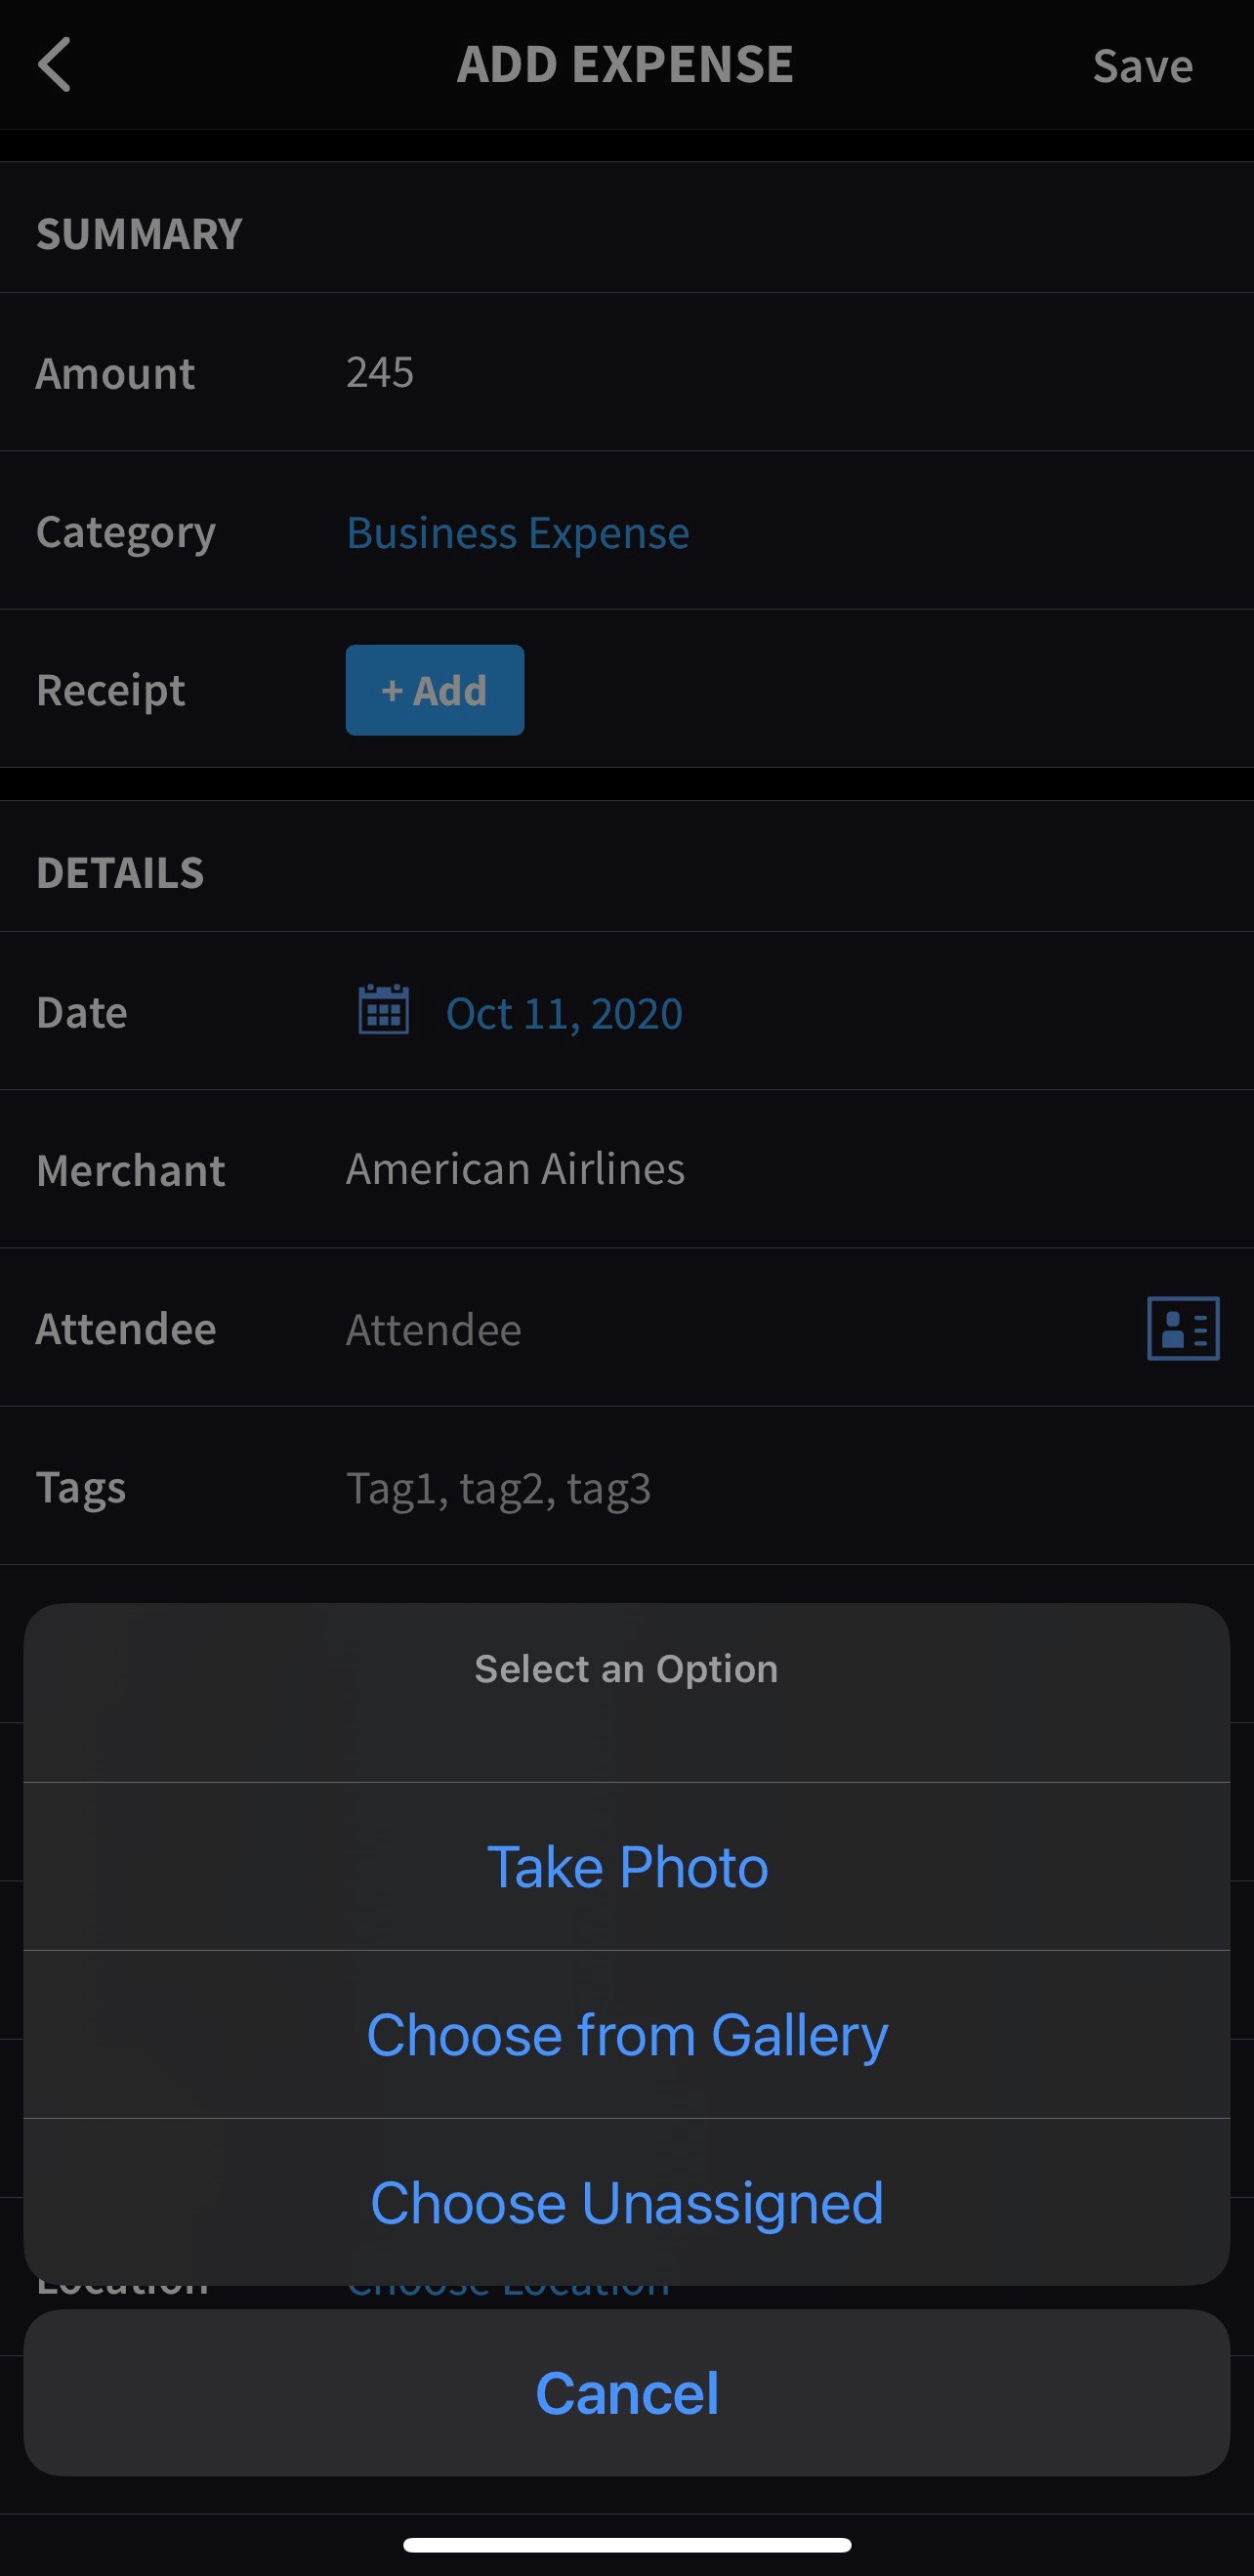
The TriNet Expense Mobile App will allow you to take new pictures or access pictures already stored on your camera. You can attach these images directly to expenses within the app.


Mileage - Use Route Map As A Receipt:
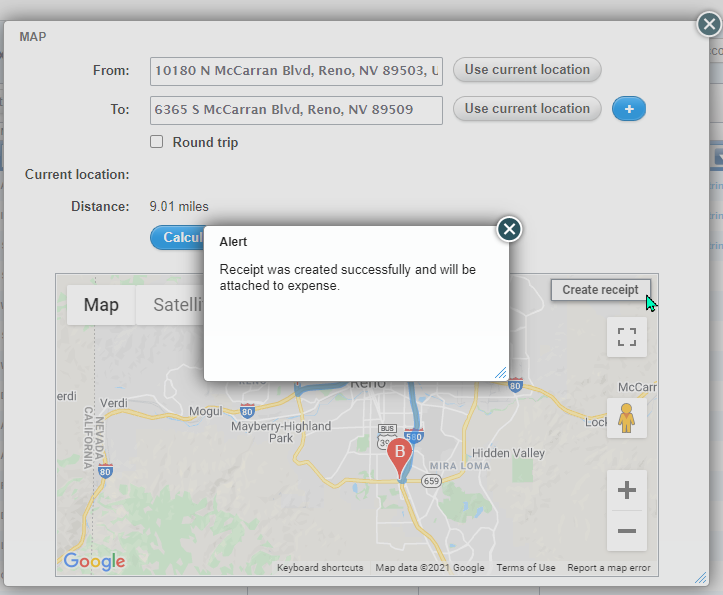
While entering your mileage expense, follow the below steps to create a receipt out of the map.
- Select Use Map and enter the addresses in the To & From field.
- Select Calculate Distance to populate the exact mileage.
- Once the route has been calculated, Click Create Receipt.
- Close the popup notification and click Save to create the expense with the map attached.

