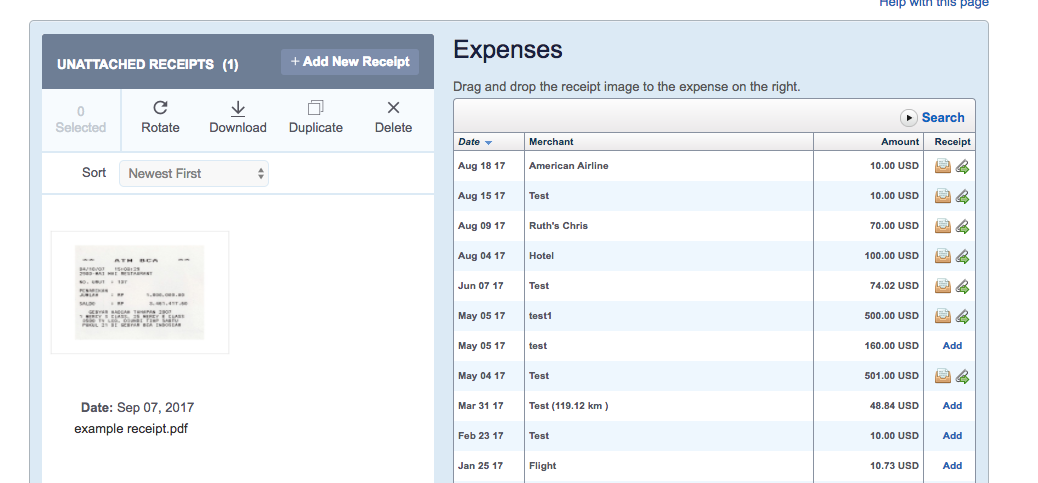
The Receipts page in TriNet Expense is the place where all pictures that are not assigned to an expense reside.
Essentially, this is a page where you can send your receipts for easy access later on when you need to assign the receipts to your expenses.
To navigate to the Receipts page, follow the directions below:
1. Login to TriNet Expense
2. Click on the Receipts tab in the top menu bar
3. Receipts are stored on this page until they are assigned to an expense. There are three ways to have receipts appear on this page:
- Upload receipt from computer by clicking "+Add New Receipt"
- Email receipts from your inbox to your TriNet Expense account
- Take photo within the TriNet Expense mobile app, receipt image will sync automatically to this page

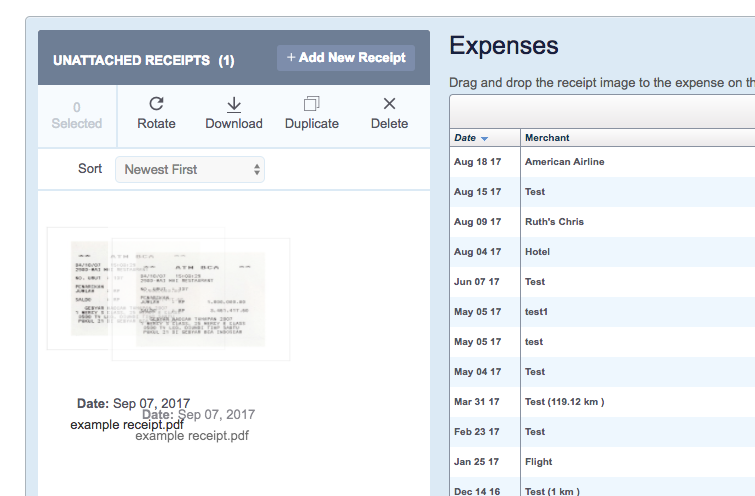
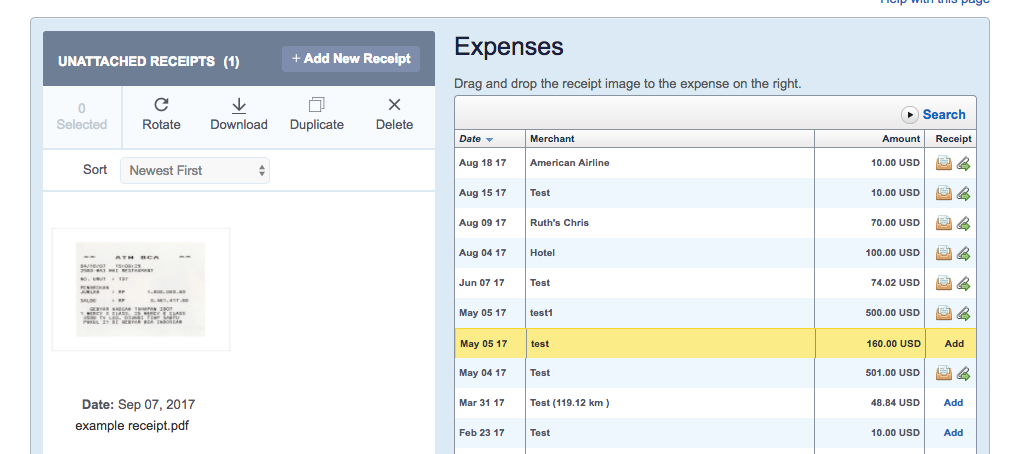
4. Receipts on this page can be added to the receipt by following the directions here. Or, you can drag and drop a receipt onto the expense showing on the right side of the page.


To remove a receipt from an expense on this page, click on the paperclip with the green arrow and the receipt will move to the photo gallery on the left side.

Remember: Once a receipt is assigned to an expense, the receipt will no longer show on this page.
For further assistance, contact employees@trinet.com.