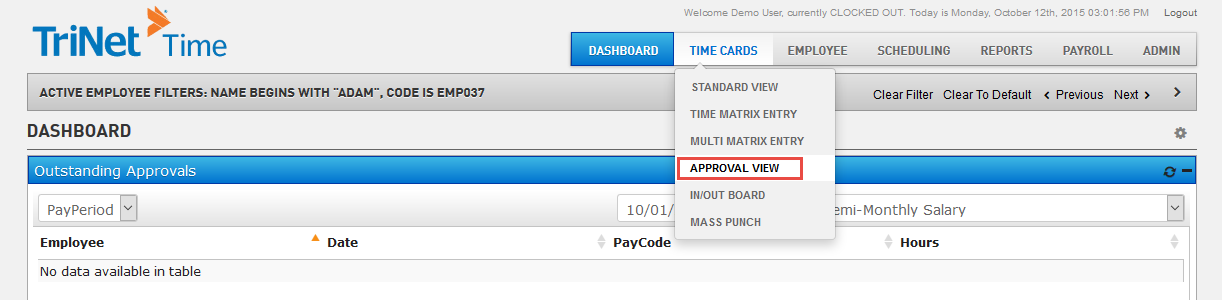
Approval View
Functions available in the Approval View section within Time Cards include:
- Review and approve time card detail for employees you are assigned to supervise
- Approve time in Time Cards, Dashboard and in Payroll Processing
There are several filter options available for viewing the data; however, this screen does not use the main employee filter.
The following filters can be used to view data on this screen:
- PayPeriod
- Date
- Employee
- Organization
- Project
- PayCode
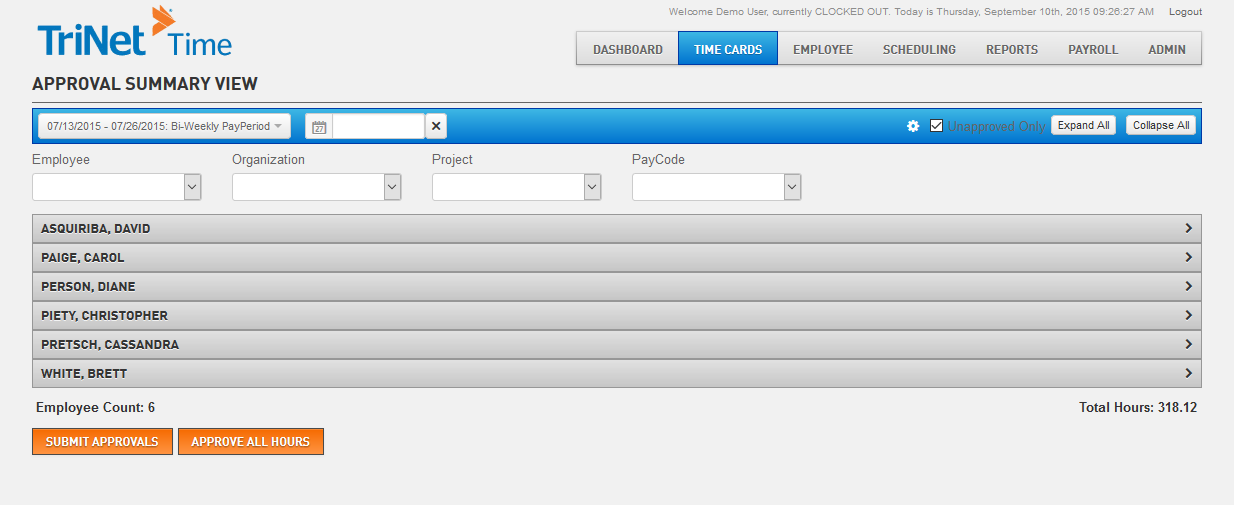
By default, the Approval Summary View screen will show employees with unapproved time entries. Uncheck the ![]() checkbox to include all employees who track time with this product in the listing.
checkbox to include all employees who track time with this product in the listing.
An optional box will also display for Direct Reports. Leave this box unchecked to include all employees in the listing.
Approving Employee Time
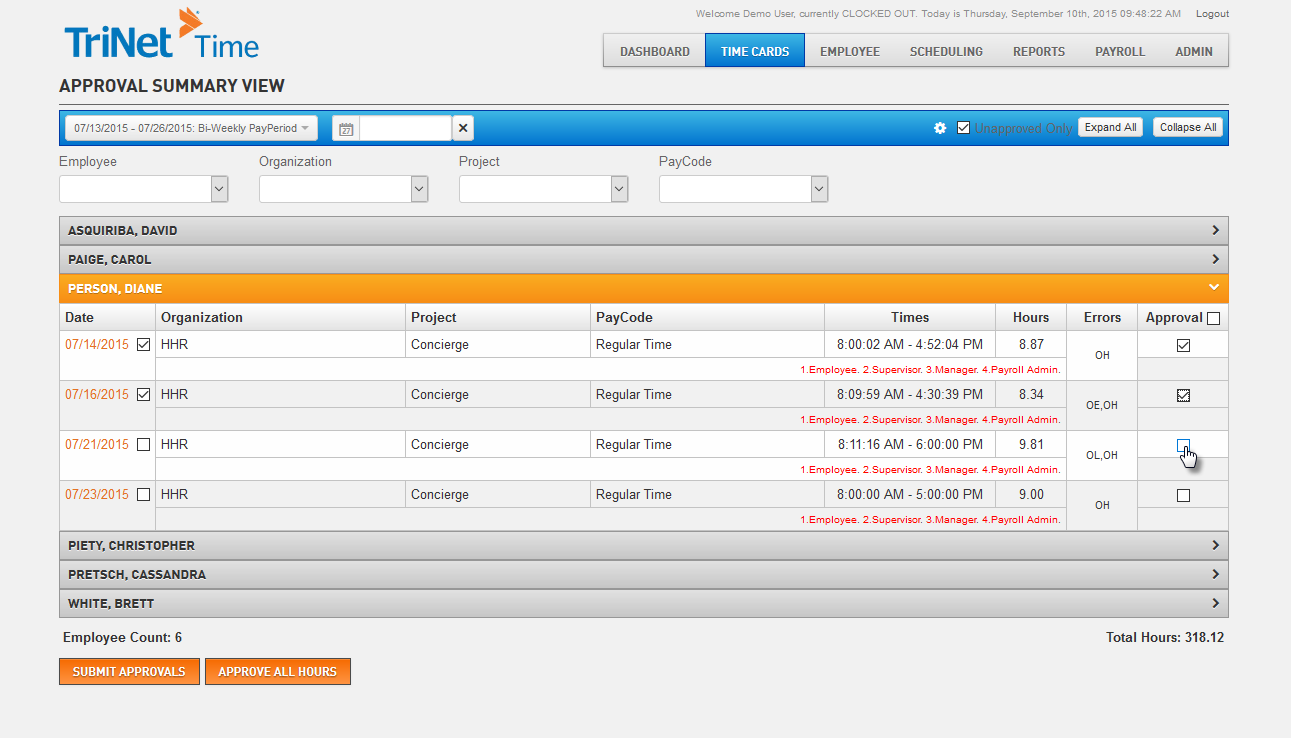
- Click on the employee's name to expand the time entry details.
- Select the hours you would like to approve using the approval checkboxes for each line item.
- Click
 to approve an employee's time.
 - You can also use the
 button to approve all of the time entries for the employees listed.
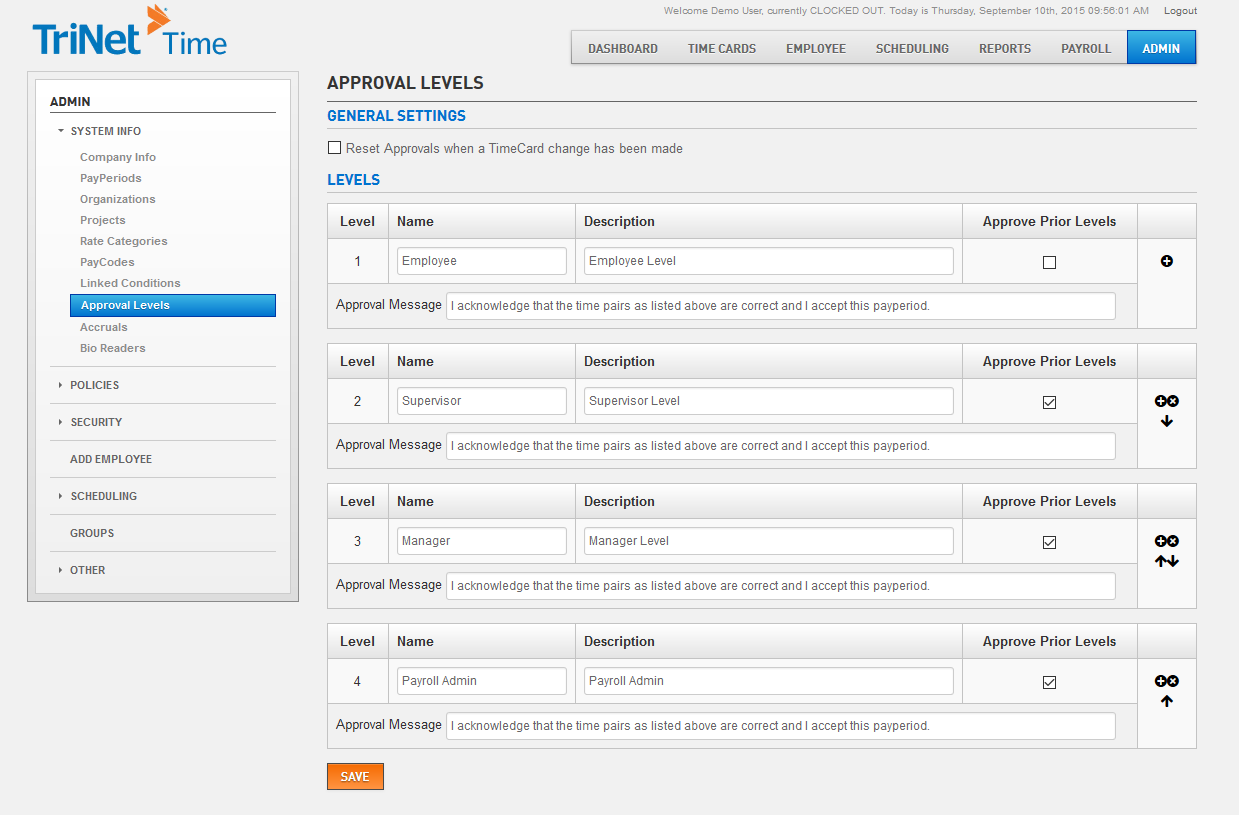
Approvals – How it works
Approvals are completed based on approval levels that are set up in the Admin section. After setting approval levels, you can then assign the approval level to the employee in the Employee Master File.
Typical levels of approval:
Level 1 - Employees
Level 2 - Managers
Level 3 - Supervisors
Approval Level Setup (Admin)
- Set up approval levels in the Admin section before approving employee time. Go to Admin > System Info > Approval Levels.
- Assign the approval level to the employee in the Employee Master File.
- Create each Approval Level for your company by Name and Description, indicating in the Approve Prior Levels field if each level can approve their own level or prior levels. Each level may have a separate Approval Message.
- These approval levels will be used when setting up users and permissions.
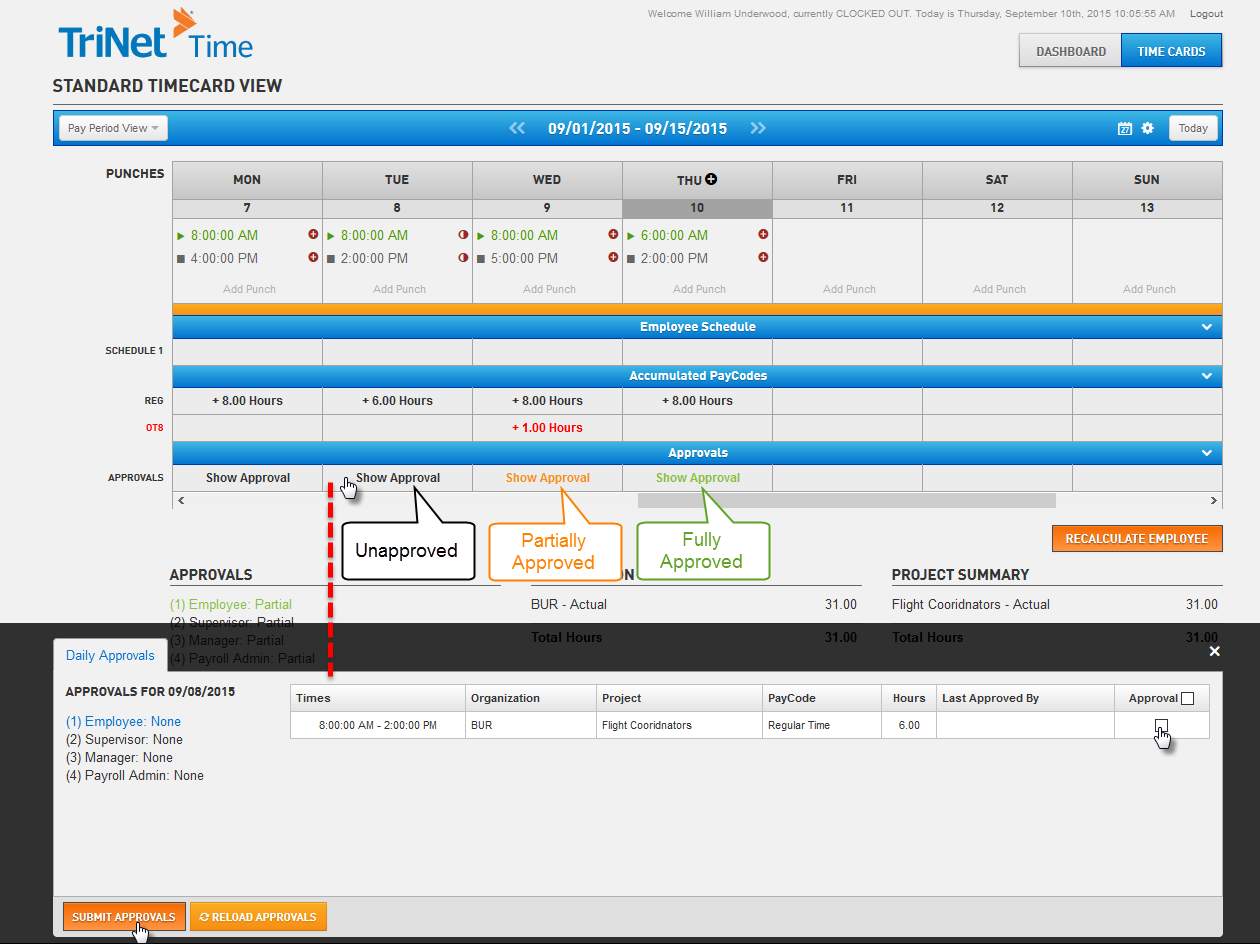
Example of an Approval
Approvals can be made on the Time Card, Approval View Screen, Dashboard and when processing payroll.
Below is an example of the approval steps for an employee. Note that this indicates to the employee which times are already approved. When approving time, the employee will see how many levels of approval there are and on which level he is approving. Currently this time is approved on Level 1. These approvals are completed on the Standard Time Card View in the Time Cards Screen.
Approval View Settings
From the Approval Summary View screen, click the ![]() icon.
icon.

The Approve Screen Settings window will display and can be used to set up how information will be displayed on the Approval screen.

Set up options include:
Approval View Type – Select from Grouped By Employee or "Spreadsheet" View
Unapproved Only Default – Select the default for displaying unapproved time only.
Show Approval History – Select whether or not to show approval history.
Employee Name Display – Select how to display the employee name.
Display Columns – Select which columns to display on the Approval screen.
Copyright 2021 TriNet. All rights reserved. All trademarks, trade names, service marks and logos referenced herein belong to their respective companies. The content of this document has been prepared for educational and information purposes only. The content does not provide legal advice or legal opinions on any specific matters. Transmission of this information is not intended to create, and receipt does not constitute, a lawyer-client relationship between TriNet, the author(s), or the publishers and you. You should not act or refrain from acting on any legal matter based on the content without seeking professional counsel.